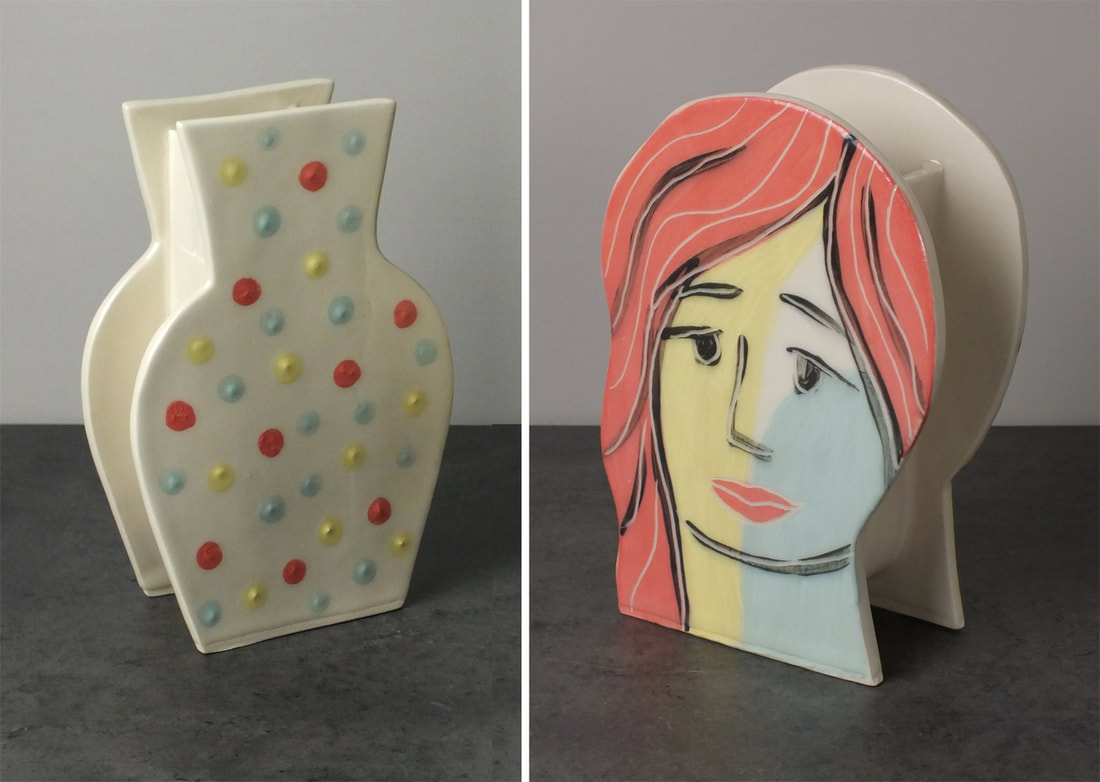
OPTION: Make Your Own Vase Pattern Make a template of your own design on scrap paper before making the pattern with the supplied watercolour paper. Please make your vase no taller than the supplied vase patterns.
ESSENTIAL: Make Pattern for Inner Wall Cut a pattern for the inner U-shaped wall using the supplied watercolour paper. The dimensions are 4 cm wide by 34.5 cm long and will work for both the Classic Vase and the Face Vase. Make it wider if you prefer.
ESSENTIAL: Cut Clay at 90° The construction method requires the clay pieces have square edges. Hold the pin tool at 90° to the edge of the pattern as you cut the clay.
TIP: Use a Bat! Before you start to assemble the vase, place the front of the vase on a bat before attaching the inner U-shaped wall.
ESSENTIAL: For Asymetrical Vases (like the Face Vase) Lay the pattern pieces on the clay so each piece will be a mirror image of the other one.
TIP: When to Remove the Paper Patterns Wait until the clay has dried enough to support itself before removing the paper. It's time to remove the paper when the clay is like a block of mozzarella cheese, not velveeta. TIP: Storing Assembled Vase Store the vase on it's side on a bat. Use crumpled newspaper to support the walls so they do not sag.
NOTE: It may take some time for the videos to appear
Vase with Butt Joints and U-Shaped inner wall - Part 1
Vase with Butt Joints and U-Shaped inner wall - Part 2
Vase with Butt Joints and U-Shaped inner wall - Part 3